When it comes to any form of DIY, preparation is essential. Painting requires time and effort, which is why taking the time to prepare surfaces properly with the appropriate decorating equipment before painting them will not only save you time and money later on but will also ensure that you receive a smooth and flawless finish. With help from ADA Fastfix, here’s how to prepare surfaces for painting.
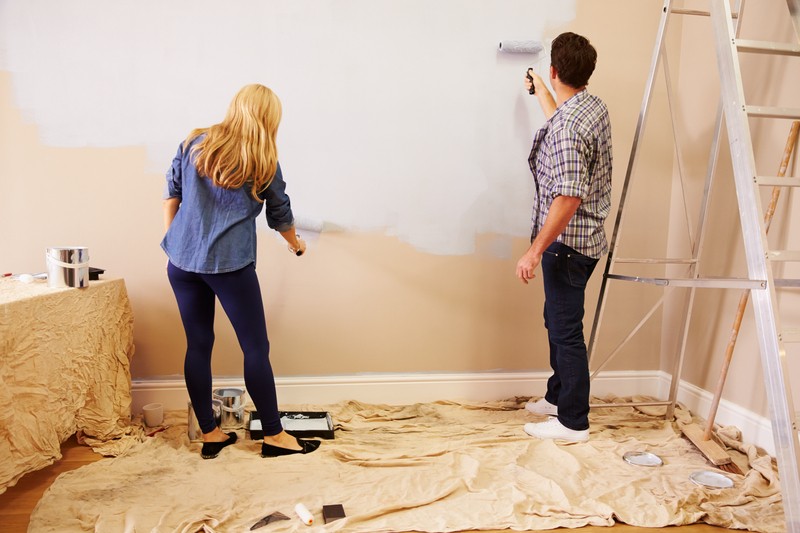
Within the home, walls and ceilings are generally the most prevalent surfaces to paint, so it’s important to understand how to prepare them correctly.
- Make sure there’s nothing in the way of your workspace before you start painting or preparing anything. Remove any mirrors, frames, fixtures, fittings, or other objects that would obstruct the surface you’re working on.
- Finally, remove any loose paint, plaster, or fragments of paper left on the wall with a paint scraper to ensure that the surface is clean.
- Check for any holes or cracks in the surface that need to be filled—if you don’t, larger gaps and cracks will develop in the future, making your completed paint job look messy. To begin, clean the cracks with sugar soap to ensure they are free of dust and debris. Dust may prevent the filler from adhering properly to the wall.
- After that, insert a flexible filler knife into the wall to plug up the hole. Spread it out to make sure it’s as smooth as possible. When applying the product in several directions and then using a single downward stroke to remove any excess, ideally perform this procedure in multiple places at once. After that, allow this to fully dry.
- Using sanding disks to smooth down the filler so that it is entirely level with the wall’s surface. Wear a mask and eye protection while doing this.
- Taking a clean and brand-new sanding pad, lightly sand the rest of the wall to ensure that there are no bumps or chipped paint. Sanding the surface not only gives you a smooth backdrop on which to paint, but it also adds texture for the paint to stick to.
- Allow the walls to dry thoroughly before applying any type of paint. Brush away any dust that may have settled on the wall, then clean it with a sugar soap solution or warm water to remove any sugar residue. Over time, grease, dirt, and fingerprints can accumulate on surfaces, so be sure to get rid of them completely. Allow the wall to fully dry after it has been cleaned and is completely smooth.
- Finally, you should mask any locations you don’t want to be painted with high-quality masking tape. Make sure the tape is securely pressed down along the edges to ensure straightness. Remove the tape at a 45° angle after the paint has dried completely, to minimize it from ripping.
- The final stage in preparing the surface ahead of painting is to apply an undercoat or primer to the wall. This will provide improved coverage for your paint as a whole.
Leave a Reply